Photography 101: Accessories for Success
You walk into your local photography shop on a mission to buy a brand new camera. The experts there help you get everything selected, packed up…and then they start asking you about the accessories you might want to grab with it. If you weren’t prepared for the additional items that they suggest, it can get a bit overwhelming. Batteries, lens caps, cases, filters…for a new photographer all of these tiny details can get to be a bit overwhelming. I thought we were just going to buy a camera and get out and start shooting…right?
That’s absolutely the goal - when you’re not focused on your equipment, you can be focused on shooting. This is exactly why these accessories are so critical. We’ve compiled a list of the most crucial ones and how to choose the right option for you.
Essentials
Tripod
Few other accessories can help improve your photography immediately like a tripod can. Anytime you shoot below 1/100th of a second you start to introduce the possibility of camera shake producing a blurry image. As you decrease that shutter speed the chance of camera shake becomes higher and higher.
There are several features that will differentiate your tripods, but the biggest three are the mount type, construction material, and clamp type.
Mount Type - I would recommend getting a tripod that has a universal 3/8th thread so you can switch out the mount type. As for your mount, you’ll want to make sure it’s Arca-Swiss. Most tripod manufacturers are moving towards this uniform style, so by choosing it right off the bat you’ll take a step towards future proofing your setup.
Construction Material - Your two choices here are basically carbon fiber or aluminum. Stay away from plastic tripods - they won’t last and aren’t heavy enough to prevent camera shake. Carbon fiber will be lighter but more expensive. If you’ll be taking your tripod backpacking or on dayhikes, it’s worth it to invest in the CF model.

Clamp Type - Almost all tripods have one of two clamp types on the legs - a twisting mechanism or a locking plastic clamp. There are advantages and disadvantages to both, but most higher end tripods will have a twisting mechanism. This makes them much easier to clean.
Other Features - There are a few other features you might want to consider when choosing a tripod and tripod head mount. You can choose to have a ball mount with or without a level, which can be important when shooting landscape or architecture photographs. Lots of tripods will also have a hook or carabiner on the bottom to attach extra weight. An extending center piece can also be helpful for additional flexibility in height.
Tripod Recommendations
Best Travel & Compact Tripod - Peak Designs Travel Tripod - $350 aluminum, $600 carbon fiber
Runner Up Travel & Compact Tripod - Sirui T-025s Carbon Fiber Tripod - $220
All Around Tripod - Promaster XC-M 525K Tripod- $190
Solid Budget / Entry Level Option - Promaster Scout - $100
Memory Cards
For something so small, these little guys can be incredibly important. There are tons of options out there, and chances are most of them will serve you just fine. So how can you choose between the myriad of cards?
How big are your image files? With the improvement in camera sensor technology comes a caveat - an increase in image file size. The insane 61 MP sensor of the Sony A7R IV spits out a RAW image that is 120 MB - as a comparison, my Nikon D7200 produced images that were about 25 - 30 MB. That means that I need at least 4x as much storage space to shoot the same amount of images on an A7R IV as a D7200.
There’s another factor that comes into play when you have these giant file sizes, and that is transfer speed. If you’re going to be shooting things like wildlife or sports, chances are you’ll be firing off lots of frames in a short period of time. In order to keep shooting the camera processor needs to have enough capacity to handle both the transferring of the files as well as any other operations that are a part of the capturing process. If you queue up too many files the processor needs to focus on those and you can’t continue shooting. The faster your camera and card can transfer those images, the more freedom you have to continue utilizing your camera.
What type of card does your camera use? In the past almost all cameras used the ubiquitous SD card, but some of the newer cameras are moving to the XQD and CF card types. Make sure you know which card your camera needs before making your purchase.
Promaster makes a Rugged card (pictured to the right) that can stand up to water and shock - if you’re known to be a bit…reckless with your gear, these might be a good idea for you.
It may be tempting, but don’t skimp on your memory card. If you can afford a card that offers high transfer speeds, grab it. I recommend at least a 64 GB card with another 64 GB as backup. The last thing you want is to be out in the field and have your shoot come to an end because you filled up your memory card.
SD Card Recommendations
Camera Bags

Ah yes, the wonderful camera bag. It’s all about preference, and unfortunately, most of the time your preferences won’t match up with what your bag can deliver. If you carry more than one camera and one lens you’ll always have to make some sacrifice between portability, space, and comfort. I’ve gone through about five bags before finally settling on one. Camera bags are far from perfect, but if you invest in a solid one, they can get the job done the majority of the time.
The biggest things to consider when choosing a bag is the amount of gear you’ll be carrying and what you’ll be doing when you’re shooting. Are you going to be carrying just your camera and a lens while you’re out hiking, or will you be heading out on studio shoots where you might need multiple camera bodies, several lenses, and maybe some lighting tools?
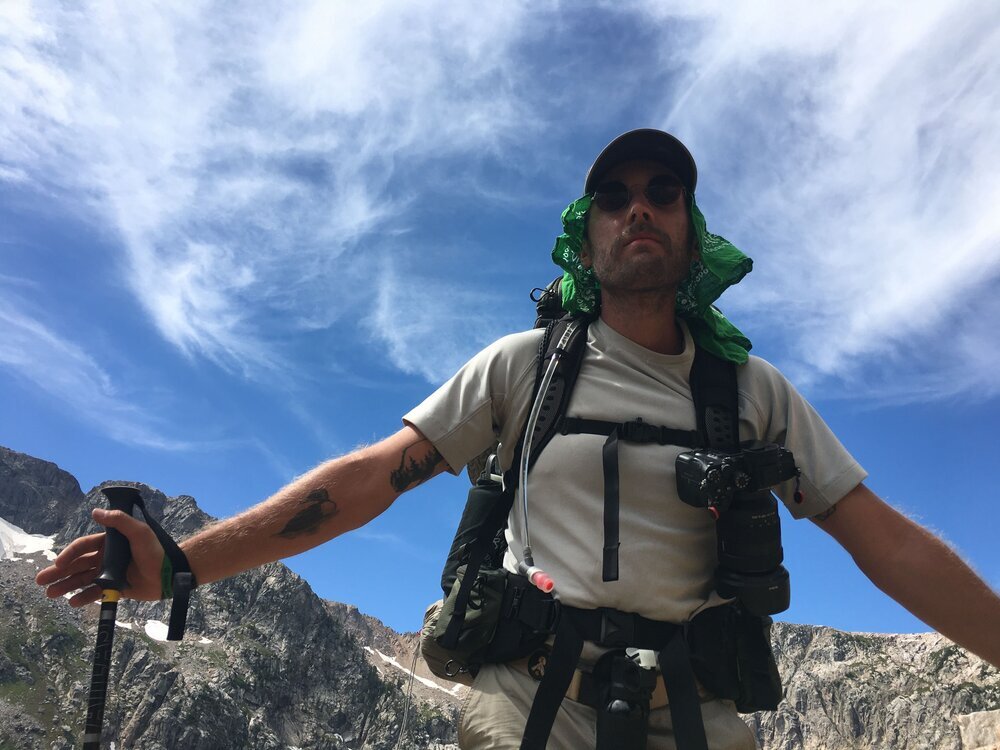
For me, I’m usually carrying more than just my camera - I’ll either be out hiking and need additional layers and snacks, or I’ll be out on the town and carrying my computer, a book, and all of the other random shit I find it necessary to haul around with me. I was always stuffing my camera loosely in my backpack, or putting my camera bag at the bottom of my backpack and having to tug it out whenever I wanted to take a shot. Based on this, I opted to go with the Peak Designs Everyday Backpack. So far it’s the best camera bag solution I’ve found. It checks all of the boxes - awesome pockets, customizable padded storage, and most of all, comfort. Promaster, WANDRD, Think Tank, and Manfrotto also make good products.
In addition to the PD Everyday Pack I also love their Camera Cubes. If I’m out on a road trip, flying, or basically traveling anywhere from point A to point B, these are crucial to protecting and organizing my photography equipment.
You may need to do some trial and error here. Try out a shoulder bag or a camera holster, see if it fits your style. Pack up the gear you think you might be hauling around and bring it to your local photography shop and test it out with a pack. Once you find the right bag for you, you’ll know.
Protective Lens Filters
I used to think that protective lens filters were a gimmick for photography companies to make more money. However, one day, I was going out to shoot, and I had failed to zip up my bag (this was before I had found my camera bag and my camera was stuffed in the top of my bag unsafely - another reason to invest in a solid bag). I whipped my backpack on, and my camera went flying out. It landed lens first on the ground. I was in shock; I grabbed the camera, and everything seemed to work…then I looked at the front element. It was completely shattered. But wait…that’s the filter. Let’s check the lens..oh god oh god…intact!
Having that $50 filter on saved my $600 lens. Now, I don’t go out of the house with one installed. But a high quality filter not only protects your lens from disaster and scratches; it can also ward off unwanted dust, fingerprints, and moisture. You probably have a screen protector on your smartphone and a case for your laptop. Don’t you think your expensive lens needs protection as well?
I highly recommend the Promaster HGX Prime filters. They are high quality glass and provide all of the protection your lens needs.

I first spotted the Peak Designs Capture Clip being used by another backpacker when I was out in Glacier National Park. Since then, I haven’t left home without it. Put simply, it’s the best solution I’ve used for transporting my camera while providing incredibly quick and easy access to it. It allows you to clip your camera on the shoulder strap of your bag, your belt, or any other strap that you might want to fasten it to. Few accessories truly change the way you utilize your photography gear; the Capture Clip does exactly that. If you’re a hiker, or are looking for a better way to handle your camera, it’s a must have.

Camera Strap
Sure, your camera came with a strap, but do you really want to be repping that stock Nikon, Sony, or Canon strap, advertising to the whole world that you have an expensive camera around your neck? Not only are you shouting “steal me” to potential thieves, but the standard straps that come with cameras tend to be pretty basic.
I recommend the Peak Designs Slide Strap, or one of their other camera straps. It is versatile, detachable, and can be used with the rest of the Peak Design system.
Lens Covers
You’re going to lose your lens cover. Just accept it, purchase a packet of backups, and move on.
Some people like to use a lens cap leash, which keeps it strapped to the front of the lens. Personally for me I feel it gets in the way of shooting, but it is a handy way to keep track of them.
Spare Batteries
Same concept here as with memory cards - always carry one more than you think you’ll need. Your camera is going to die in the field at some point. Be prepared. Have an extra battery.
Lens Cloths / Lens Pens
Always, always, always have a lens cloth or a lens pen with you. Stuff them in your pocket. Put multiple in your camera bag. Stash some in your car. It always seems like whenever I need one most, I don’t have one around. You can never have enough of these available!

Lens Hoods
When you bought your camera or lens it may have come with this funny looking thing that attached to the front of the lens. If you didn’t know what it was at first (like me) you probably just pulled it off and set it aside. Well go fish that lens hood out of storage and throw it back on the camera, because it’s a super important tool for your photography practice.
A lens hood not only protects the front of your lens, but it stops unwanted light from entering your lens while shooting. Light is good in photography, but beams of light shining directly into the lens can ruin a shot. Put on that hood!
There are tons of other accessories available for your photography kit, each of them serving a very specialized purpose. The accessories listed here are ones that I consider to be crucial to enhancing your photography and protecting your gear, and any photography from a beginner to an expert should carry each one of these in their kit.