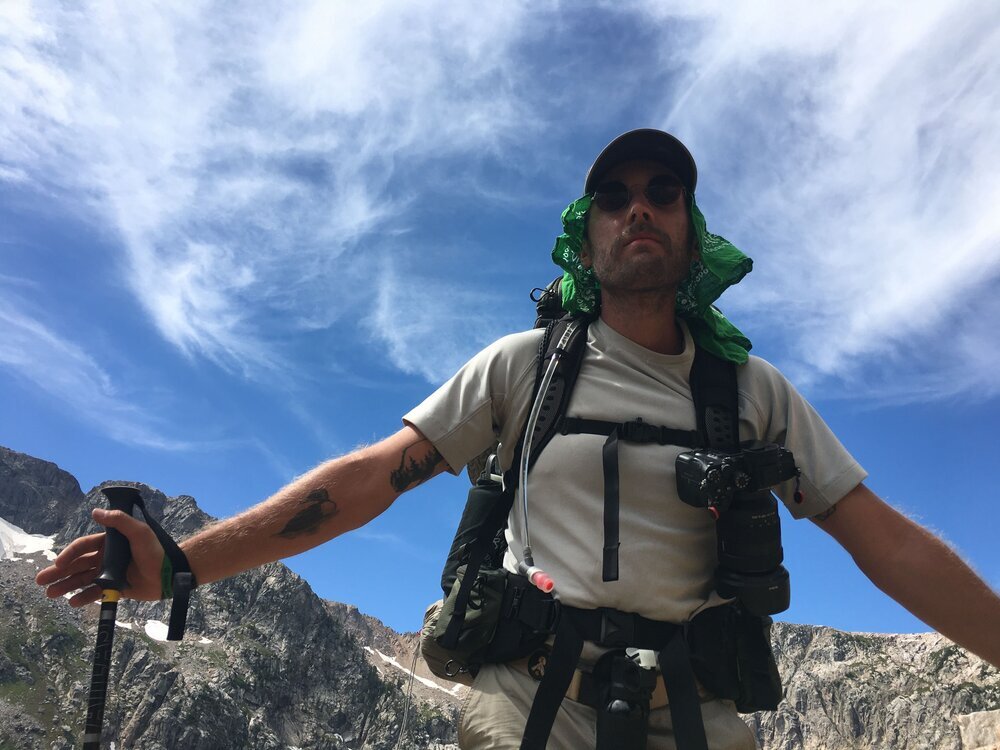
Photography 101: A Beginner's Guide to the Exposure Triangle
These days photography is more accessible than it ever has been before. iPhones, portrait mode, and the rise of digital photography gives all of us the chance to channel our inner Ansel Adams and snap off as many photos as we like.
For many of us however photography transcends capturing memories. Something about communicating the way that we see the world in a unique and creative way draws us in and takes us down the rabbit hole that requires additional knowledge.
If you have recently purchased a digital camera or are thinking about taking the leap into the world of digital photography, understanding the exposure triangle is crucial. This foundational principle will be what you build your photography knowledge and portfolio on. Understanding the way that light is processed and presented by your camera will allow you to capture better images and provide you with creative methods that you can use to express your view of the world through your camera lens.
What is Exposure?
Before we jump into the three factors that determine your photographs exposure we need to understand what exposure actually is. Exposure is the amount of light that your camera takes in and uses to produce the image that we see after we push the shutter button. A good, or balanced exposure is the key to taking quality photographs. If you allow too much light to be taken in by your camera your image will be over exposed. Not enough light, and your image will be underexposed. Cell phone cameras and the “auto” setting on DSLR / point and shoot cameras calculate your exposure for you, which makes it super handy for situations where you don’t have time or just don’t want to think about manipulating your settings on your camera.
The Exposure Triangle
The exposure triangle is made up of three important points - shutter speed, ISO and aperture. Each of these settings can be adjusted on your camera, and the way that you change these three settings and dial them in affects the exposure of your picture. We’re lucky in the modern age - before the advent of modern digital photographs, many film cameras didn’t have these settings available to change, and if they did, they took much more advanced knowledge and time to adjust than they do today. In this short guide we will be going over these three camera settings, digging into what they are, how they affect your exposure, and how you can use them to get that shot you’re looking for,.
Shutter Speed
The shutter speed is a measure of how long your camera’s shutter is open. It is measured in seconds. If you shoot at a “fast” shutter speed, like 1/500 (1/500th of a second) your camera will take in a smaller amount of light than it would if you shoot at a “slow” shutter speed like 1/50 or even slower speeds like 10, 20, or 30 seconds.
When you leave your shutter open for a longer period of time your camera not only lets more light in, but it also captures the scene for the entire time that the shutter is left open. You can think of it kind of like a recording - if you leave your shutter open for 10 seconds, the entire time the shutter is open your camera will be taking in light and capturing the scene. If you have ever seen or heard of long exposures, these are created by keeping the camera shutter open for an extended period of time. Some of the more common long exposure you will see are star trails or the light streaks created by passing trains or cars.
In the two examples below you can see a contrast between a fast (higher) shutter speed and a slow (lower) shutter speed. The photograph of the waterfall on the left utilizes a fast shutter speed. The bright day makes it possible (and most of the time necessary) to increase my shutter speed both to compensate for light and to capture the individual water droplets rolling down the falls. In the photo on the left I utilized a slow shutter speed so I could capture the entire process of several different fireworks going off. It was also dark out which gave me the flexibility to increase the amount of time my shutter remained open gathering light.
Using Shutter Speed Creatively in Photography
Manipulating shutter speed is one of my favorite ways to exercise creativity in photography. Shutter speed can be used to capture a quickly moving subject or it can create stunning light and motion trails within a composition - both of which are ways that our eyes are not able to view and capture motion.
In the two images below shutter speed was the key to the result I wanted to achieve. A slow shutter speed in the image of the windmills on the right conveys the motion of the blades spinning in unison. On the left I captured a sharp image of our Christmas tree, then cranked up the shutter speed and zoomed in to simulate the light trails. Stacking these two images gives the final result!
“You don’t take a photograph, you make it.”
A slow shutter speed is also key to astrophotography. In order to capture the light of faraway stars we need to be able to push up our shutter speed. The image below was captured using a shutter speed of 25 seconds. This was also a stacked image, but both captures were taken using a shutter speed of 25 seconds. The first image was a straight capture of the tower and the stars; in the second shot I had two of my friends run up to the top of the tower with their headlamps on to simulate light trails that conveyed someone running up to the top of the watchtower. You can get creative with this technique, using flashlights or headlamps to “paint” darker areas and expose them in your photograph.
For more info on how to shoot awesome star photos, check out our Beginner’s Guide to Landscape Astrophotography.
In summary, your shutter speed affects how much light your camera is going to take in; it also affects the way that your camera captures motion through the lens, with a fast shutter speed freezing the frame in place, and a slow shutter speed creating motion blur or increased light intake.
ISO
In basic terms ISO is your camera’s sensitivity to light. It is measured numerically and can range from 50 to as high as 204,800. A lower ISO setting decreases your camera’s sensitivity to light, while a higher ISO setting increases the sensitivity to light. Pretty simple, right?
There is, of course, a catch that comes along with ISO. As you increase your ISO setting you introduce what is called “noise” to your image. If you have ever seen a picture or a film that looks a little grainy, that is basically what noise is. Although your camera can compensate for lower light by increasing the ISO, the camera is not actually able to detect the finer details of the low light areas. To make up for this lack of detail it introduces noise as a way of extrapolating what would appear in that area if it were fully lit.
When you are first starting out with ISO (and even as you become more experience and used to shooting in Manual mode) I would recommend always leaving your ISO as low as possible. Usually when I am shooting I start at 100 ISO (my camera’s lowest setting) and bump up incrementally as needed. Unless I am going for another creative effect or shooting in a very low light situation ISO is almost always my last resort to increase my image exposure. Nine times out of ten a lower ISO = a sharper image. This can be slightly adjusted in post-processing, but as a general rule of thumb the goal is always to take a photograph that needs as little editing after the fact as possible.
If you look closely at the two photos above you can pretty clearly see that many of the areas lack a certain sharpness and a grain factor has been introduced. This is because due to the low light of the situation I had to bump up my ISO in order to expose the image adequately. Cranking up the ISO isn’t a huge deal in cases like this, and postprocessing can help to smooth out the noise. However, it’s an extremely important part of the exposure triangle to keep in mind as you are out practicing and shooting.
Aperture
The third and final key to the exposure triangle is your aperture. Aperture is a measure of how widely the camera’s lens opens up. It is measured in f-stops, which are notated using a fraction - f/aperture size. For example, my 18 - 140mm lens has an aperture range of f/3.5 to f/22. Aperture is probably the most important piece of the exposure triangle for a few reasons. It not only has a dramatic effect on your images exposure, but it also is the key to manipulating and perfecting the depth of field in your images, which is key to not only a sharp image but also opens up new creative avenues when shooting photos.
Aperture and Exposure
The wider your camera’s lens is opened - i.e., the size of your aperture - the more light that is let in. A larger aperture lets in more light, while a smaller aperture lets in less light.
Aperture can be a bit confusing because of the way that it is described vs. the way that f-stops are notated. A good way to think about aperture is as a fraction. an aperture of f/2 is like saying that your lens is 1/2 (50%) open, while an aperture of f/10 is indicating that your lens is only 1/10 (10%) open.
We can also use this methodology to determine how wide our aperture opening actually is. The f in our f-stop indicator actually stands for focal length, which is basically the “zoom” of the lens that we are using on our camera. We can use the formula of focal length / aperture to determine the actual diameter of the aperture in our lens. If we were using an 18 - 50mm lens zoomed into 50mm, and then set our aperture f-stop to f/10, we know that our aperture diameter is 5mm (50mm/10). Pretty cool, huh?
f/2. The lowlight of the store we were in meant I needed to make some type of adjustment, and the pattern of the yarn gave it a cool effect with a shallow DOF.
f/4. The sun was setting and the skies were overcast, but I didn’t want to push down shutter speed or increase ISO. Even at a lower aperture the details of cities and streets stay sharp.
f/7.1. With landscape photography it’s generally recommended to have a small aperture to capture all of the faraway details that make landscapes so breathtaking.
When we think about it in this way we can see the way that the aperture measurement relates to the size of our lens opening and how that measurement determines how much light our camera processes as a result.
Aperture and Depth of Field
The other key to understanding how aperture affects your images is how it changes your depth of field. Simply put, depth of field is how in focus the background is compared to the foreground, and vice versa. If you have ever seen a scene from a movie or show that starts with a close up of a character’s face with blurry background that slowly transitions to a clear image of both the close up character’s face as well as a clear background (think scary movies where the bad guy is behind someone) you have seen the transition from a shallow depth of field to a large depth of field. This nice, creamy background that a shallow depth of field can produce is called a bokeh (pronounced bow-kah).
There is much more to depth of field and the way it can affect your photographs, but we will keep it shallow in this article (get it?) and focus on the ways that aperture affects your exposure.
Using Depth of Field Creatively In Photography
Adjusting your aperture to create a shallower or deeper depth of field is an incredibly easy and fun way to help your photographs stand out. One of the primary ways to use DOF is by creating a bokeh or out of focus background to create contrast and sharpness in macro or portrait photography. Pets and friends are great ways to practice adding this effect to your photos.
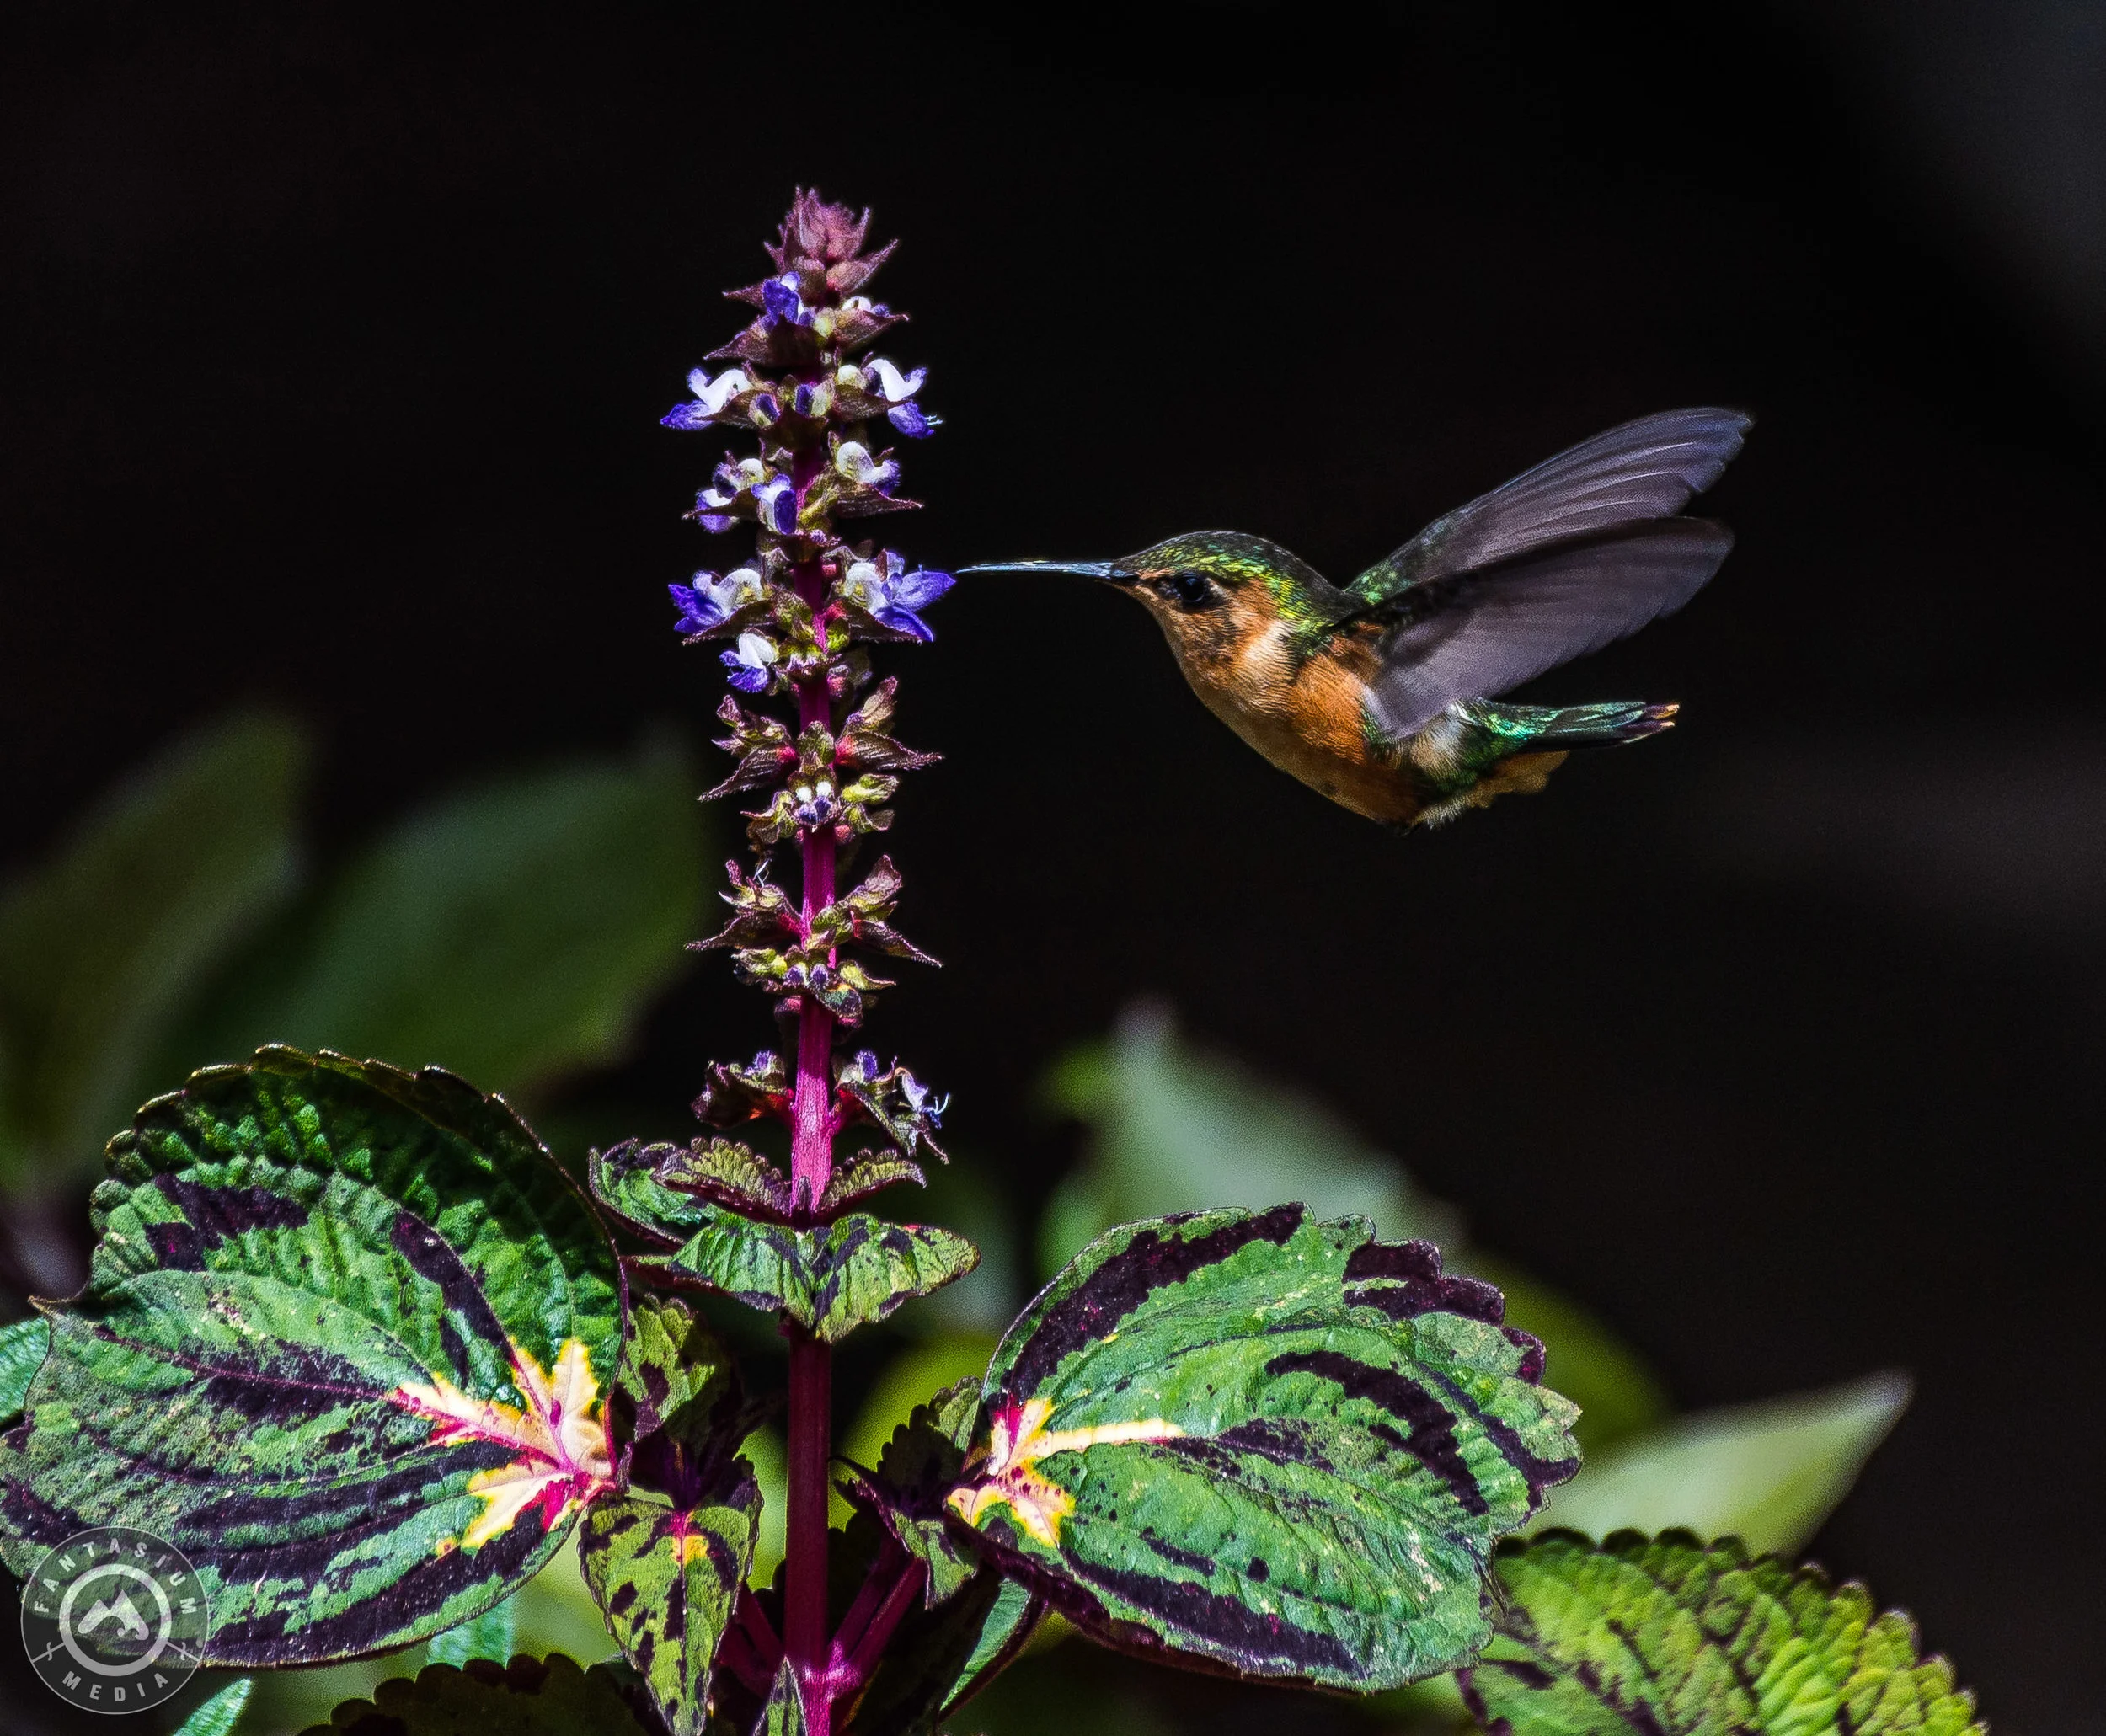
Once you have the hang of it you can use your aperture to achieve styles that really make your photos pop. One of my favorite ways to utilize this strategy is in macro photography (photographing very small things). When you get close enough to a subject, you can create that bokeh effect, or even cause the background to appear dark on a bright and sunny day.
Bringing the Triangle Together Point by Point
When you’re out shooting in manual for the first time, it can be daunting. Not only do you need to think about your composition, but now we need to take into account three new settings that can completely change the way that the photograph turns out. For photographers just starting their foray into the exposure triangle, I would recommend starting on a priority mode. Using priority mode, you can tell your camera to automatically set one of the points of the exposure triangle for you, and you can manipulate the other two. For example, on aperture priority mode, you can adjust your shutter speed and ISO (always starting with the lowest possible ISO!) and your camera will automatically adjust your aperture (remember - this is how “wide” your camera lens opens) to provide you with the best possible exposure. Once you get used to adjusting two of your settings, you can review your results and see what you like and what you don’t like, then start to mirror the aperture utilized on those images to see what happens when you manually adjust all three points of the exposure triangle.
The three keys to improving your photography and understanding the exposure triangle are practice, practice, and more practice. At first it can be discouraging when your images don’t turn out the way you might expect them to, but in life, the best way to learn is by making mistakes, and in photography that is especially true. The beauty of the digital era means that you can take as many photos as you want without any penalty - in fact, I recommend that you take far more photos than you think you might need to! Each shot you take is an opportunity to learn, and the more shots you come out with, the more you learn. Not only will you improve your composition and exposure skills, but more shots also helps you build your photography workflow as well as your technical editing skills - both of which occur far after you press the shutter button your camera, but are equally important to your success as a photographer.
No matter what you do, keep getting out to experiment, learn, and improve your skills!